
Are you tired of the never-ending battle to maintain your natural lawn? Do you dream of a lush, green yard that doesn’t require constant mowing, watering, and weeding? If so, it might be time to consider installing artificial turf. Synthetic turf not only provides a low-maintenance solution but can also transform your outdoor space into a beautiful, hassle-free oasis.
In this blog, we’ll take you through the process of installing artificial grass step by step, so you can achieve professional results in your own backyard.
Planning Your Artificial Grass Project
Before you dive into the installation process, it’s essential to plan carefully. Proper planning can make the difference between a flawless installation and a disappointing outcome. Here’s how to get started:
- Measure Your Area:
Begin by measuring the area where you intend to install artificial grass. Accurate measurements are crucial for ordering the right amount of turf and materials.
- Choose the Right Type of Artificial Grass:
Consider your project’s purpose and the specific requirements of your outdoor space. Are you installing a lawn, a putting green, or a pet area? The type of artificial grass you choose should align with your goals.
- Gather Materials and Tools:
Make a list of the materials and tools you’ll need for the installation. This typically includes artificial grass, weed barrier fabric, a utility knife, a power broom, landscape staples, and a vibrating plate compactor.
- Prepare the Ground:
Clear the area of any existing grass, weeds, rocks, and debris. You’ll want a clean and level surface for the best results.
- Address Drainage Needs:
Proper drainage is crucial to prevent water from pooling on the surface. Consider the slope of your yard and install a suitable drainage system if necessary.
- Determine the Direction and Layout:
Decide on the direction in which you want the artificial grass blades to face. Typically, the grass should face the same way for a consistent look. Lay the turf out in your desired pattern to ensure a proper fit before cutting or securing it.
- Secure Edging:
To keep the artificial grass in place and prevent it from shifting, secure edging around the perimeter of the installation area. This can be done using landscape nails or stakes.
Preparing the Base
The key to a long-lasting artificial grass installation is a solid and well-prepared base. Here’s how to get your base ready:
- Excavate the Area:
Dig down to the desired depth, usually around 3 to 4 inches. This depth allows for the addition of base materials and the artificial grass itself.
- Add Base Materials:
Fill the excavated area with a base material such as crushed rock or decomposed granite. Compact the base using a vibrating plate compactor to ensure a stable and even surface.
- Install Weed Barrier Fabric:
Lay down a weed barrier fabric over the compacted base. This fabric helps prevent weeds from penetrating the artificial grass.
Laying and Securing Artificial Grass
With the preparation work complete, it’s time to lay and secure the artificial grass. Here’s how to proceed:
- Roll Out the Artificial Grass:
Carefully roll out the artificial grass over the prepared area. Ensure that the grass blades are facing in the desired direction, and align the seams if you have multiple pieces to join.
- Trim Excess Grass:
Use a utility knife to trim any excess turf that extends beyond the edges of the installation area. A straight edge can help you achieve clean, precise cuts.
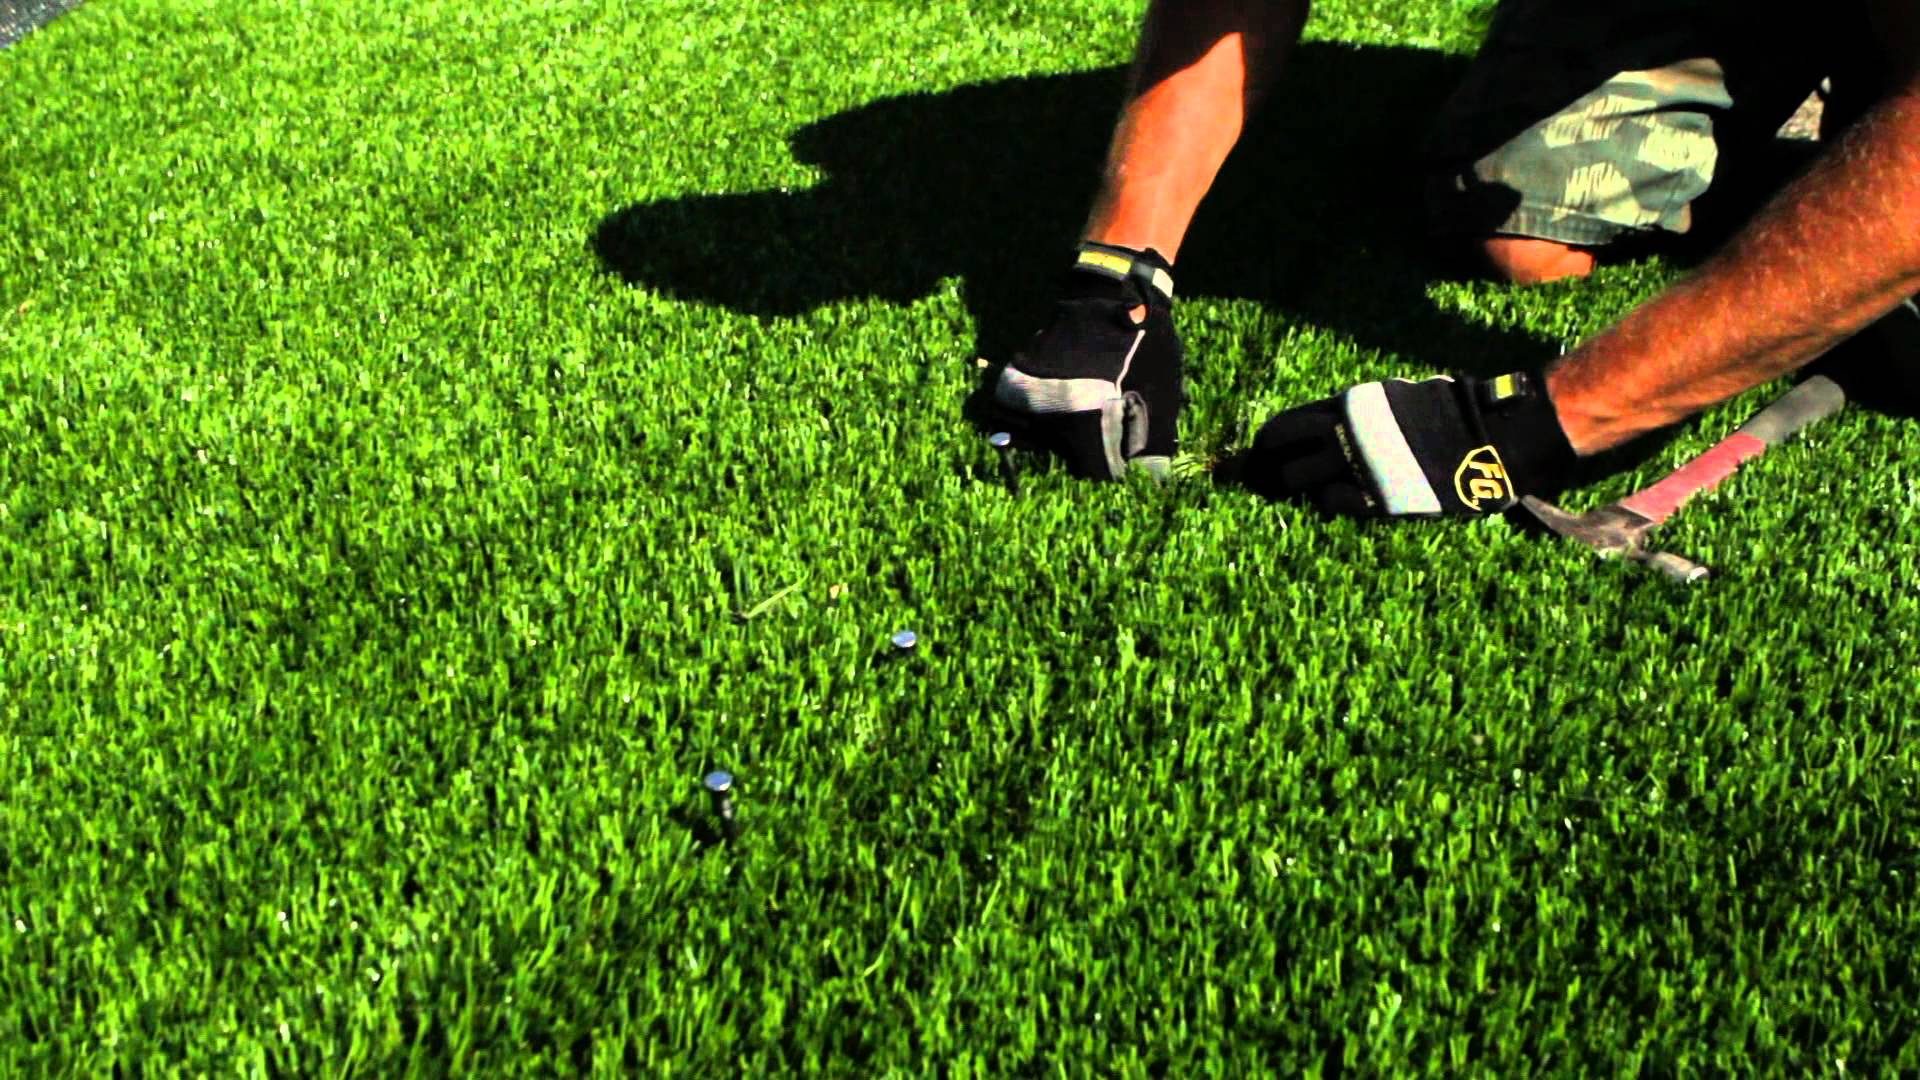
- Secure the Turf:
Secure the artificial grass in place by anchoring it along the edges with landscape staples or nails. Space them approximately every 6-8 inches along the perimeter to prevent shifting.
- Seam Joining (If Necessary):
If you have multiple pieces of artificial grass to join together, use seam tape and adhesive to create a seamless look. Ensure that the seams are well-aligned for a natural appearance.
Infilling for Stability and Realism
Infilling is a crucial step that provides stability and helps maintain the lifelike appearance of your artificial grass. Here’s what to do:
- Choose the Right Infill Material:
Select an appropriate infill material based on your project’s requirements. Common options include silica sand, rubber granules, or a combination of both. Infill adds weight and helps the grass blades stand upright.
- Spread the Infill:
Using a drop spreader or a shovel, evenly spread the infill material over the artificial grass. Work it into the turf using a power broom or a stiff brush. Ensure that the infill is evenly distributed, as this helps with drainage and stability.
- Brush and Compact:
After spreading the infill, use a power broom or a stiff brush to brush the grass blades in the opposite direction, ensuring the infill material is distributed evenly. Then, compact the infill by running a vibrating plate compactor over the entire surface. This step helps to lock the infill in place and ensures stability.
Final Touches and Maintenance
With the grass installed and infilled, you’re nearly finished. Here are some final touches and maintenance tips:
- Brush the Grass:
After compacting the infill, brush the artificial grass blades with a broom or power broom in the direction you want them to stand. This step gives your lawn a natural, groomed appearance.
- Trim Around Edges:
Use your utility knife to trim any excess artificial grass around the edges for a clean finish. Take care not to damage the grass blades during this step.
- Sprinkle with Water:
To settle the infill and cool down the surface on hot days, lightly sprinkle the artificial grass with water. This will also help wash away any remaining infill particles from the grass blades.
- Regular Maintenance:
While artificial grass is low-maintenance, it still requires occasional care. Brushing the grass to keep it upright and removing debris and leaves is usually sufficient. Avoid the use of chemicals or harsh cleaning agents.
Congratulations! You’ve successfully installed artificial grass like a pro, creating a beautiful, low-maintenance outdoor space that will provide years of enjoyment. With proper installation and care, your artificial lawn will look and feel like a natural one, without the hassle of constant maintenance. Enjoy your lush, green oasis!


