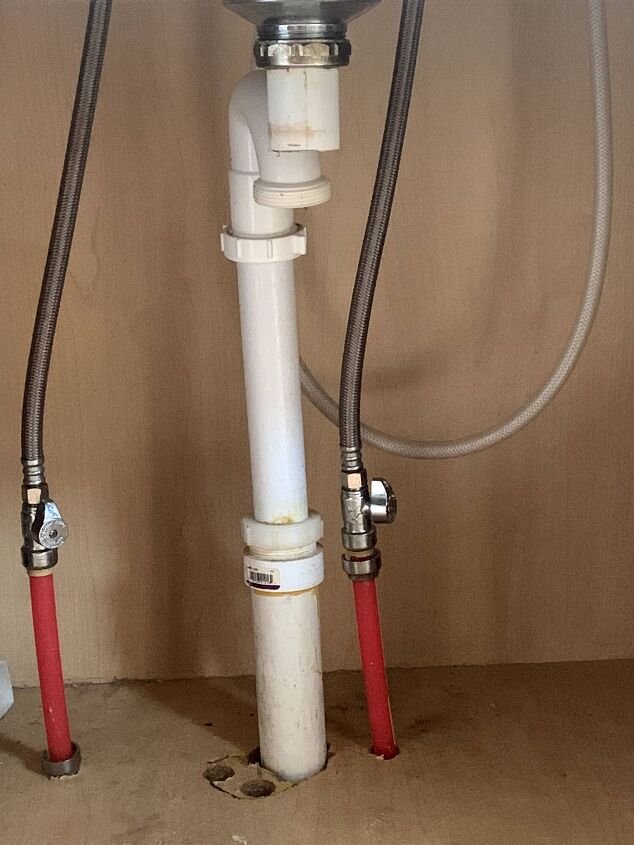
Fixing a Leaky Kitchen Sink: Essential Repair Tips
Leaky kitchen sinks can be a homeowner’s nightmare, causing water damage, mold growth, and frustration. However, with the right knowledge and tools, tackling this issue doesn’t have to be daunting. Here are some essential repair tips to help you fix that pesky leak under your kitchen sink and restore peace to your home.
Identifying the Problem: Understanding the Source of the Leak
Before diving into repairs, it’s crucial to identify the source of the leak. Common culprits include loose connections, worn-out seals, and damaged pipes. Start by inspecting the area under the sink for any signs of moisture or water stains. Use a flashlight to examine the pipes and connections closely, paying attention to areas where leaks are most likely to occur, such as around the faucet and drain.
Gathering the Right Tools and Materials: Be Prepared for the Job
Once you’ve pinpointed the source of the leak, it’s time to gather the necessary tools and materials for the repair. Depending on the extent of the damage, you may need an adjustable wrench, pipe wrench, plumber’s tape, pipe sealant, replacement washers, and pipe fittings. Having these items on hand will save you time and frustration during the repair process and ensure that you can fix the leak properly.
Turning off the Water Supply: Safety First
Before starting any repair work, it’s essential to turn off the water supply to the sink to prevent further leakage and minimize the risk of water damage. Locate the shut-off valves under the sink and turn them clockwise to shut off the water flow. Once the water supply is turned off, open the faucet to drain any remaining water from the pipes and reduce pressure.
Tightening Loose Connections: Securing the Pipes
In many cases, leaks are caused by loose connections between pipes and fittings. Use an adjustable wrench to tighten any loose nuts or bolts around the leaky area. Be careful not to overtighten, as this can cause damage to the pipes or fittings. Once the connections are secure, check for any remaining leaks and make adjustments as needed.
Replacing Worn-Out Seals and Washers: Restoring the Seal
If tightening the connections doesn’t resolve the leak, the problem may lie with worn-out seals or washers. Remove the affected components using a wrench or screwdriver and inspect them for signs of damage or deterioration. Replace any damaged seals or washers with new ones of the same size and type. Apply plumber’s tape or pipe sealant to ensure a tight seal and prevent future leaks.
Repairing Cracked or Damaged Pipes: Patching Up the Damage
In some cases, leaks may be caused by cracked or damaged pipes. If you discover a crack or hole in the pipe, you’ll need to repair or replace it to stop the leak. Use a pipe cutter to remove the damaged section of pipe and replace it with a new piece of pipe of the same size and material. Secure the new pipe in place using pipe fittings and tighten the connections with a wrench.
Testing for Leaks: Ensuring a Proper Repair
Once you’ve completed the repair work, it’s crucial to test the sink for any remaining leaks. Turn the water supply back on and run the faucet to check for signs of leakage. Inspect the repaired area closely for any drips or moisture. If you notice any leaks, make additional adjustments as needed until the leak is fully resolved.
Preventing Future Leaks: Maintenance and Care Tips
To prevent future leaks and prolong the lifespan of your kitchen sink, it’s essential to practice regular maintenance and care. Check for signs of leakage periodically and address any issues promptly. Avoid using harsh chemicals or abrasive materials that can damage the pipes or seals. And consider installing a drip tray or mat under the sink to catch any minor leaks before they cause significant damage.
Seeking Professional Help: When to Call a Plumber
While many kitchen sink leaks can be fixed with DIY repairs, some issues may require the expertise of a professional plumber. If you encounter a complex or stubborn leak that you’re unable to fix on your own, don’t hesitate to seek professional help. A licensed plumber can assess the situation, identify the underlying cause of the leak, and implement the necessary repairs to ensure a permanent solution.
Restoring Peace of Mind: Enjoying a Leak-Free Kitchen Sink
By following these essential repair tips and taking proactive measures to maintain your kitchen sink, you can effectively fix a leaky sink and restore peace of mind to your home. With the right tools, knowledge, and a little elbow grease, you’ll be able to tackle any kitchen sink leak with confidence and keep your kitchen functioning smoothly for years to come. Read more about leak under kitchen sink


